You may need to change a toner cartridge when:
- Your printer tells you toner is out (low toner usually means you can print a few hundred more pages without a problem)
- The pages coming out of the printer look faded or washed out
- The pages have a repeating defect of some kind
Users are able to and expected to be able to change toner in black and white printers. (Color printers are more difficult so if you are unsure of how to change color toner call the helpdesk and we will assist you.)
- The first thing you will need to know is what model of printer you have. This will be written on the printer somewhere, there are 2 names that you will likely find on the printer, one is our name for the printer the other is the model name. You will need the model name.
- Take the model name to the central stores. They will be able to tell you which replacement toner cartridge to use. (If there is a problem identifying which replacement to use call the helpdesk.)
- Give them your cost center number and they will let you have the replacement toner cartridge that you need.
- Take the new cartridge back to the printer and remove the new toner cartridge from the box.
- Power the printer off.
- Open the top cover on the printer.
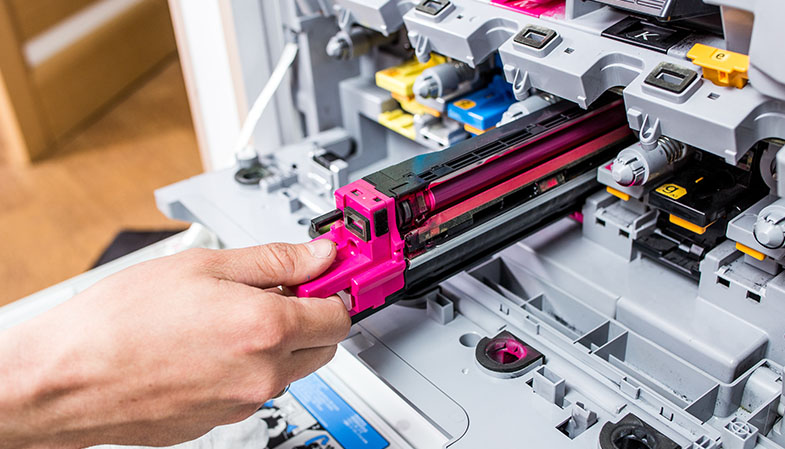
- Remove the old toner by pulling up and away from the printer. (It should come out with only a small amount of force)
- Remove the new toner from its bag, remove the rip strip from the cartridge. This is a small tab on the side of the cartridge that is attached to a plastic film strip. If you do not remove this strip the printer will only print blank sheets. Take care to avoid getting the toner on you when you rip off the strip. Spilled toner is best cleaned up with a dry cloth. If you spill any toner on yourself you can wash it off with COLD water (no hot water as it can cause the toner to set).
- Place the new cartridge into the printer the same way the old unit came out (there may be arrows or other cues to help you align the cartridge correctly.) .It should slide in with minimal force. If it does not slide in easily, make sure you have the cartridge aligned correctly and that you are using the correct cartridge (i.e. 4000 series cartridge is not compatible with the 4100 series printer, you must use 4100 series cartridge).
- Once you have the cartridge seated all the way in place, close the top cover.
- Power the printer back on.
- Print a few test pages
- If the printouts look good:
You are just about done, package the old toner cartridge in the box the new toner came in and give it to the mailroom. We get a credit for the old cartridges. Now you are finished. - If there is a problem with the test pages:
Our cartridges are refurbished and sometimes the cartridges can be defective. If you see streaks, repeated defects, faded out pages or other defects that did not exist before you changed, toner it may be because of a problem with the toner cartridge. - Try getting another new cartridge, installing that cartridge, and printing some test pages. If the printouts are clean, then the first cartridge is a defect, return it to the mailroom for credit.
- If both new toner cartridges seem to have problems call the computer helpdesk. There is likely something wrong with the printer.
Please Note : Toner cartridges are light sensitive if you are going to leave them out of the box or printer for more than a few minutes please cover them to prevent damage.